


Installing a ceiling fan might seem intimidating, yet it can be a simple project that enhances your space. Whether you want to cool down a stuffy room or add a stylish touch, getting it right is vital. By understanding the basics, you can make this DIY task easier and safer. Let’s explore the key steps and tips to guarantee your ceiling fan installation goes smoothly and effectively.
Choosing the Right Ceiling Fan for Your Space
What should you consider first when choosing the right ceiling fan for your space? Start by measuring the size of the room. A small fan won’t effectively cool a large room, and a big fan can overwhelm a cozy space.
Next, think about the ceiling height. If you have low ceilings, look for low-profile or hugger fans to prevent any safety hazards.
Consider the fan’s style and finish, too; it should match your decor and enhance the room’s aesthetic.
Remember the fan’s motor quality; a quiet, high-quality motor will keep your space comfortable without making annoying noise.
Finally, check for energy efficiency ratings, as these can save you money on electricity bills in the long run. Additionally, remember that professional installation can guarantee safety and efficiency, ensuring that your fan operates at its best.
Safety Precautions Before You Start
Before diving into your ceiling fan installation, it’s vital to prioritize safety to protect yourself and your home. First, turn off the power at the circuit breaker to avoid any electrical shocks. Double-check that the power is off using a voltage tester; this step’s significant.
Next, wear safety goggles and gloves to shield your eyes and hands from debris and sharp edges. If you’re using a ladder, make sure it’s stable and positioned correctly. Always have someone nearby to hold the ladder, particularly if you’re working at a height.
Keep your workspace clear of clutter to avoid tripping hazards. Finally, read the manufacturer’s instructions thoroughly before starting. Familiarizing yourself with the specific requirements for your ceiling fan will help guarantee a smooth installation process. Additionally, consider consulting a certified electrician for any electrical concerns to ensure a safe installation.
Tools You’ll Need for Installation
Now that you’ve taken the necessary safety precautions, it’s time to gather the right tools for your ceiling fan installation. You’ll need a few essentials to make the job smoother.
Start with a sturdy ladder to reach your ceiling safely. A screwdriver set, including both Phillips and flathead, is vital for securing the fan. Don’t forget a pair of wire cutters or strippers for handling electrical wires.
A voltage tester is also important to confirm the power is off, keeping you safe during installation. Having a drill with the appropriate bits will help you mount the fan securely.
You might also want a measuring tape to verify accurate placement. Finally, a flashlight can be handy for working in dimly lit areas. With these tools in hand, you’re ready to tackle the installation process confidently. Additionally, consider consulting licensed electricians to ensure your installation meets safety standards.
Step-by-Step Installation Guide
Getting your ceiling fan up and running involves a straightforward process that anyone can follow with the right guidance.
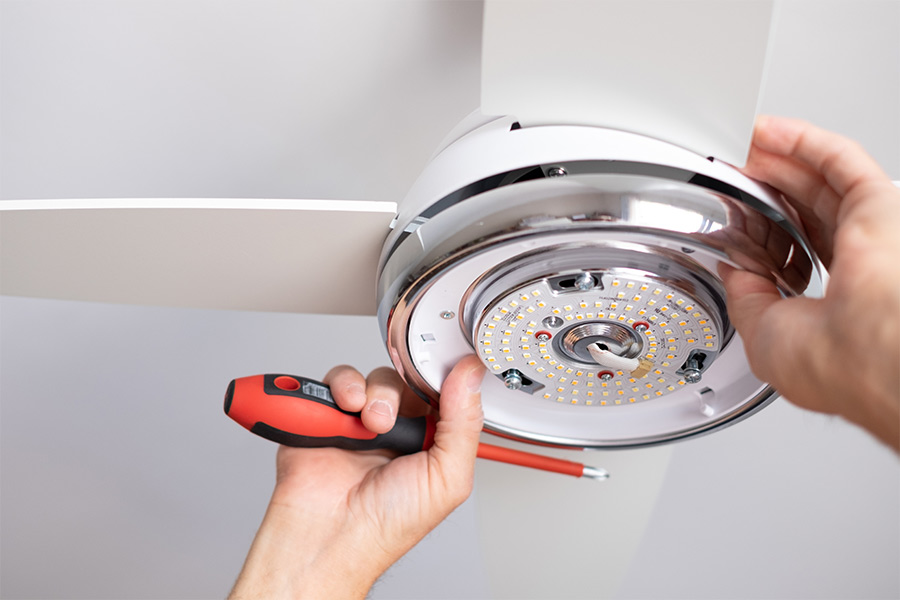
First, turn off the power at the circuit breaker to guarantee safety. Next, secure the mounting bracket to the ceiling, making sure it’s sturdy. If your fan has a light kit, assemble it according to the manufacturer’s instructions.
Then, connect the wires: usually black to black, white to white, and green or copper for ground. Once connected, carefully tuck the wires into the ceiling and attach the fan to the mounting bracket.
After that, attach the fan blades, ensuring they’re evenly spaced. Finally, restore power at the circuit breaker and test the fan to ensure it works properly.
Additionally, consider professional electrical installation to ensure that your ceiling fan is safely and correctly installed, especially if you’re unsure about the wiring process.
With these steps, you’ll enjoy a cool breeze in no time!
Troubleshooting Common Issues After Installation
After installing your ceiling fan, you might encounter a few common issues that can dampen your enjoyment.
If the fan wobbles, check if it’s securely mounted and verify the blades are properly aligned. Sometimes, loose screws can cause this problem.
If your fan doesn’t seem to turn on, confirm that the circuit breaker is functioning and that the remote batteries are fresh.
In case of a humming noise, it could be due to loose wiring or a faulty motor. Turn off the fan and inspect the connections.
If you notice flickering lights, make sure the light bulb is tightly fitted and compatible with your fan.
Lastly, if the fan runs too slowly, check the speed settings and verify your power supply is sufficient.
If you’re still having trouble, don’t hesitate to call a professional for help and enjoy a cool breeze without the hassle!
Conclusion
Installing a ceiling fan doesn’t have to be intimidating; with the right preparation, you can transform your space like a pro! By selecting the perfect fan, prioritizing safety, and following the steps carefully, you’ll create a revitalizing atmosphere in no time. If issues arise, don’t panic—troubleshooting is part of the adventure! So roll up your sleeves, and get ready to enjoy a cool breeze that’ll make your home feel like a five-star resort!